Inspiration from this lesson by Ali Marcotte.
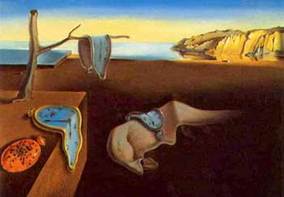
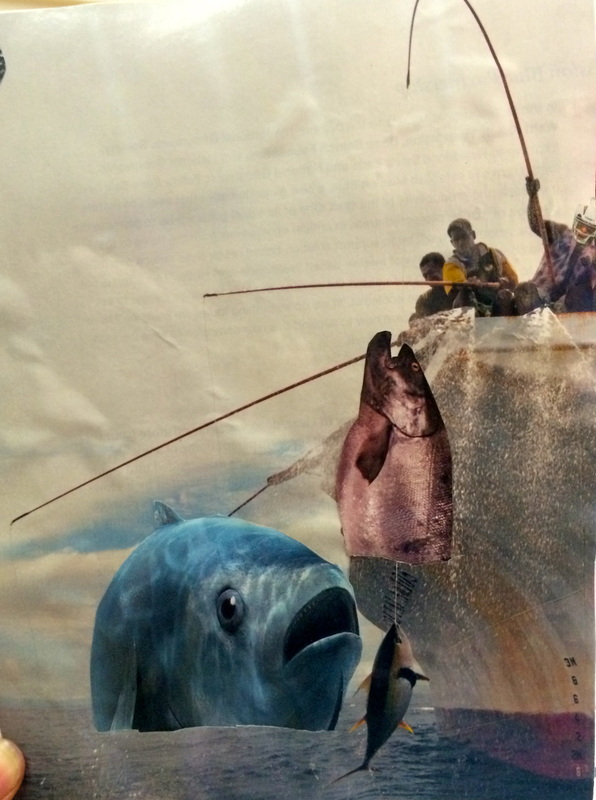
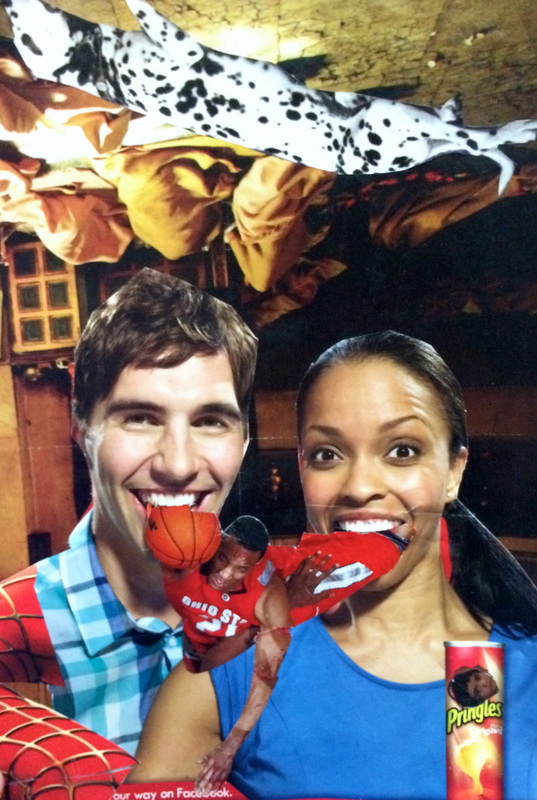
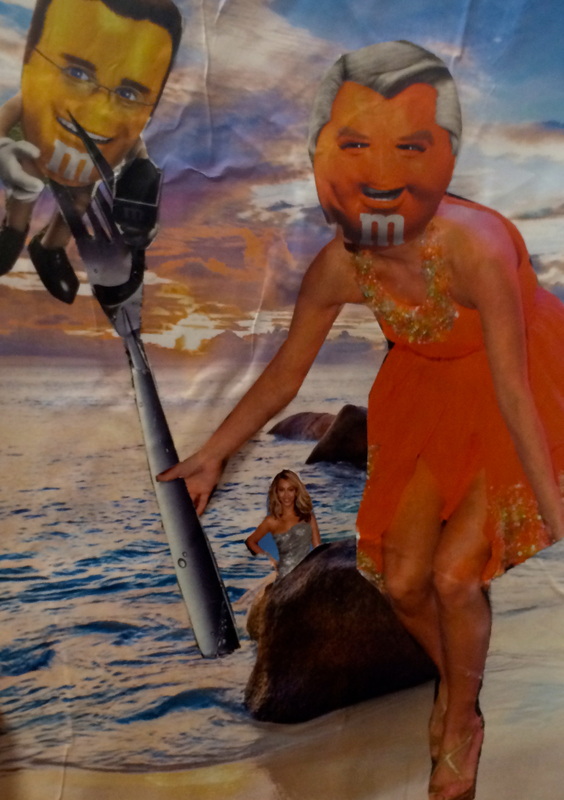
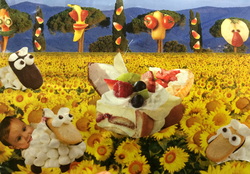
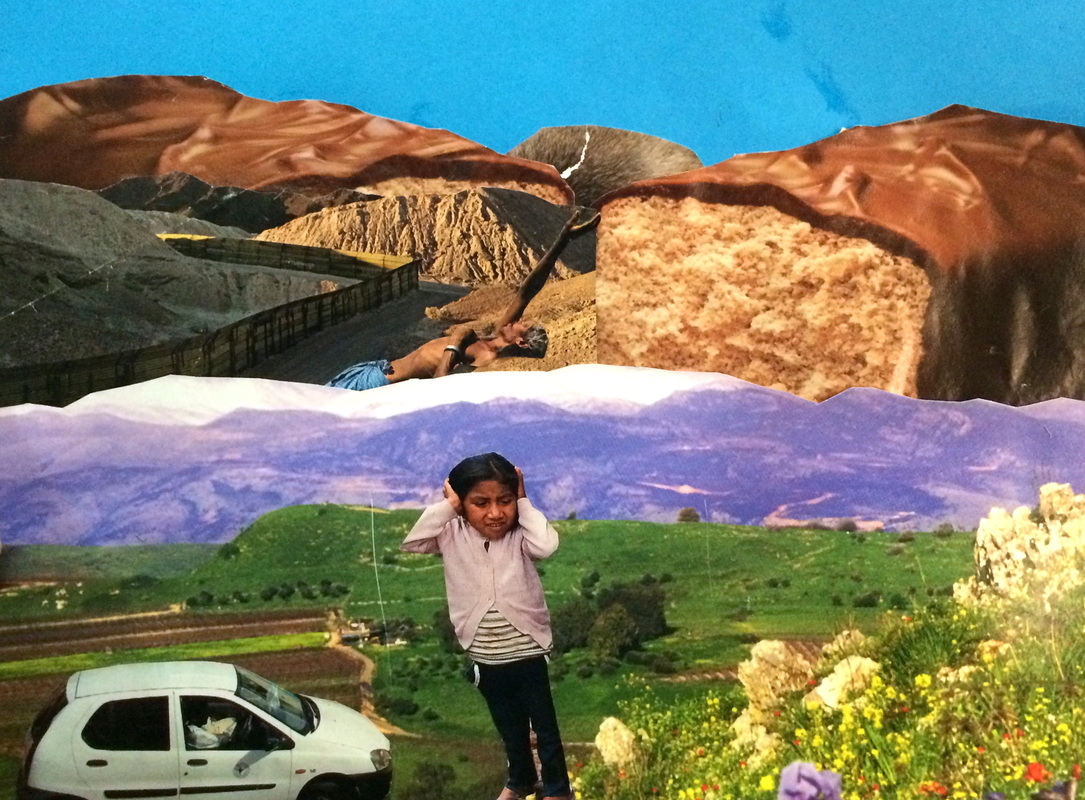
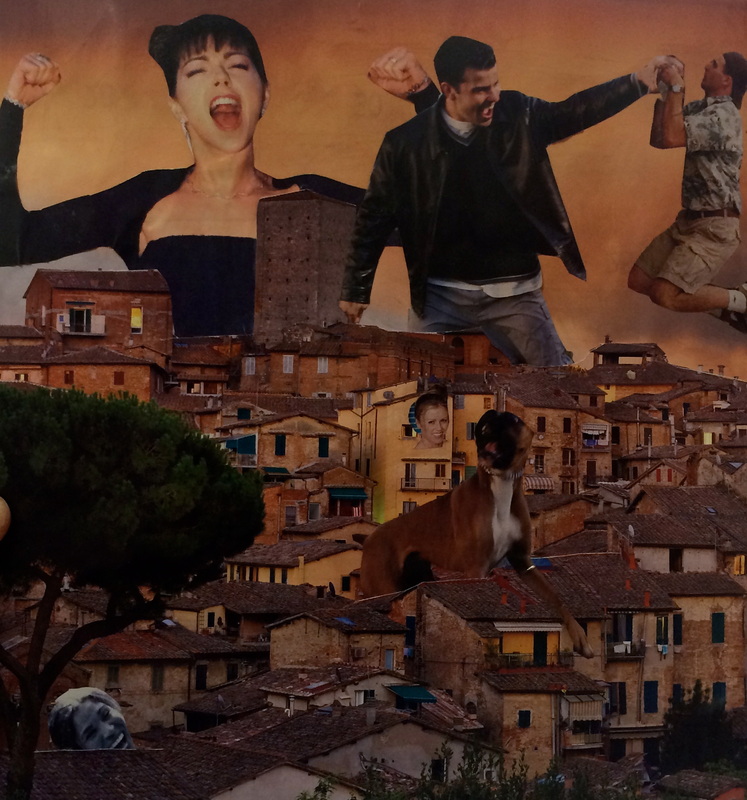
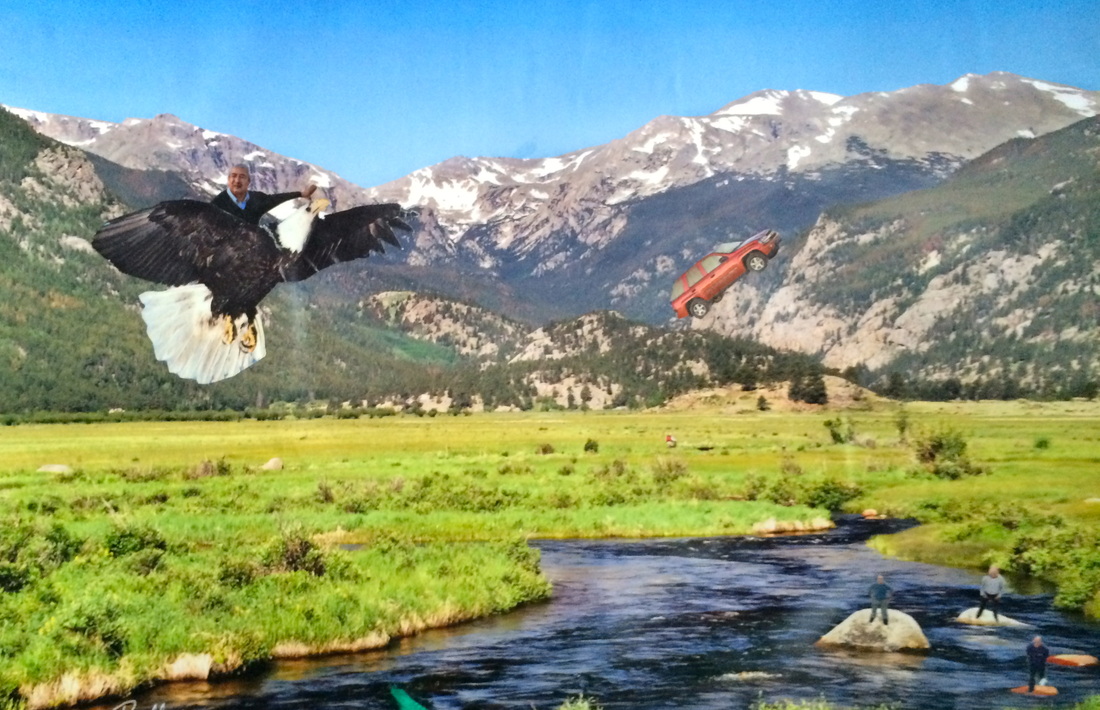
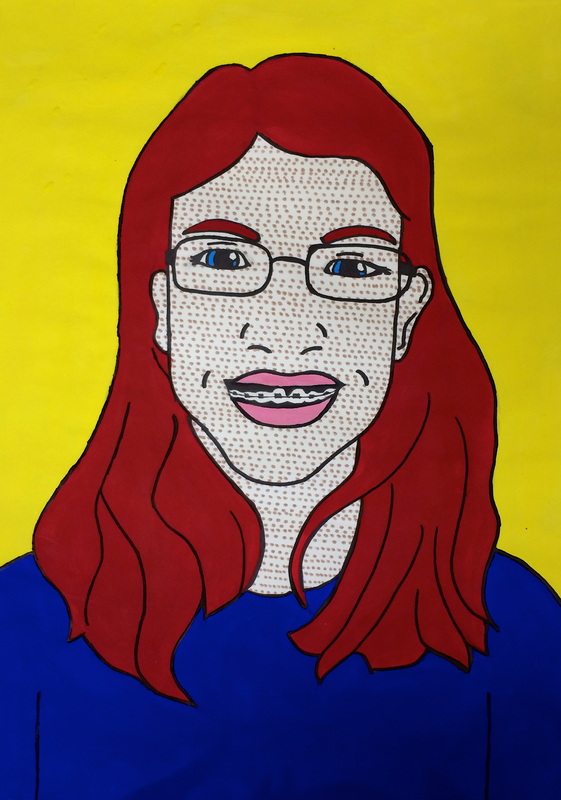
Draw what you see, not what you know.
Or what you think you know...
Or what you think you know...
Similarly to the contour line drawing project I did with my classes last semester, I gave the students the challenge to draw what they see. This time, I tried adding something new to improve it. We started the same way, doing an upside down drawing…
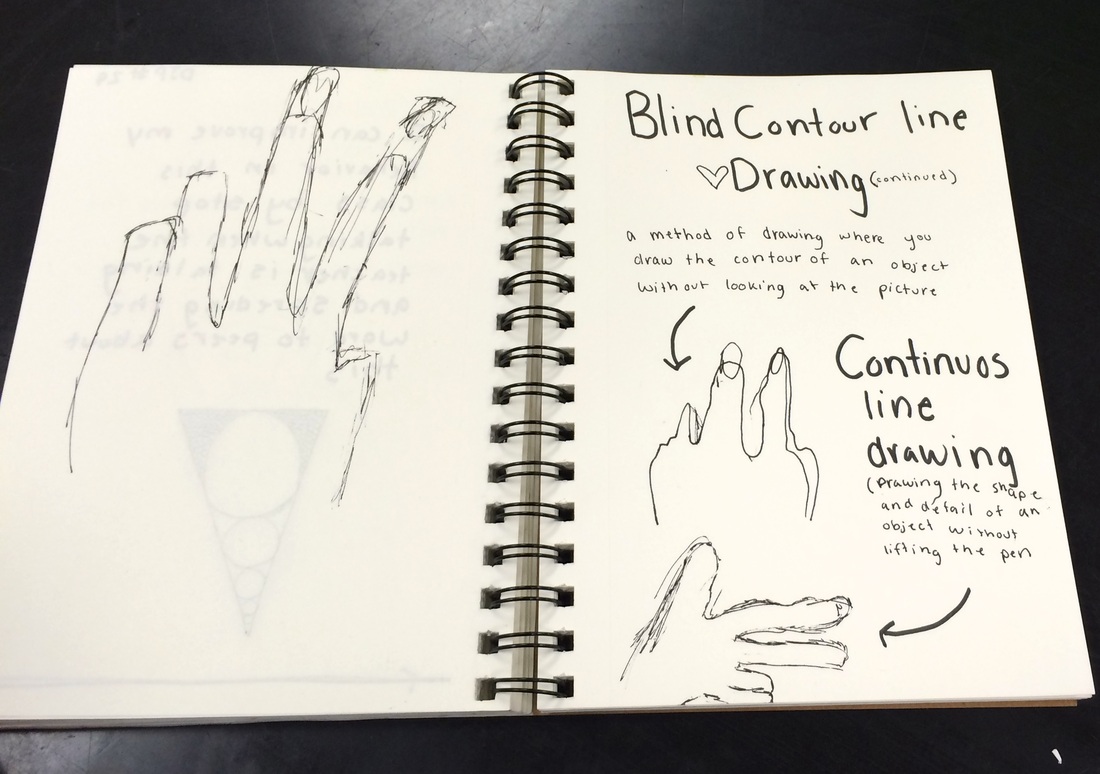
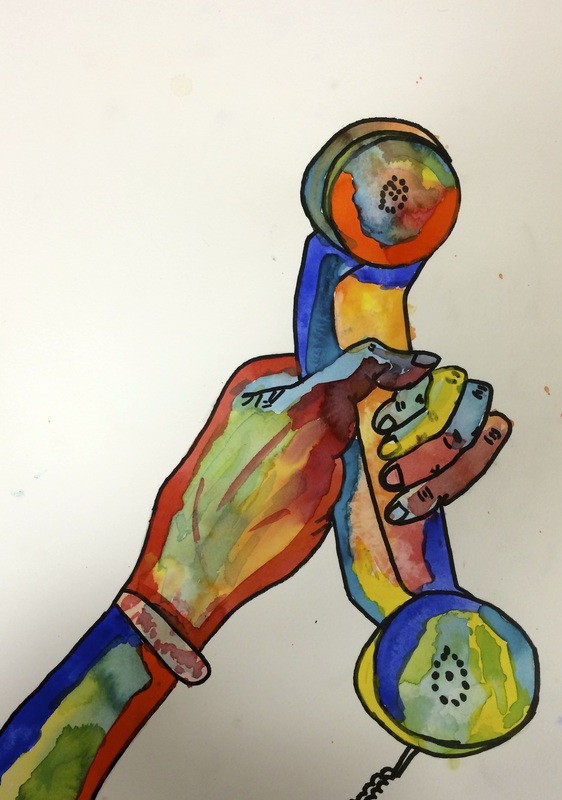
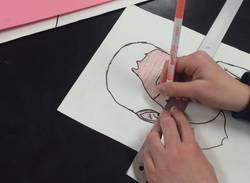
Then blind continuous contours of their hands:
“Only look at your hand! No peeking to your page. Draw what you see!"
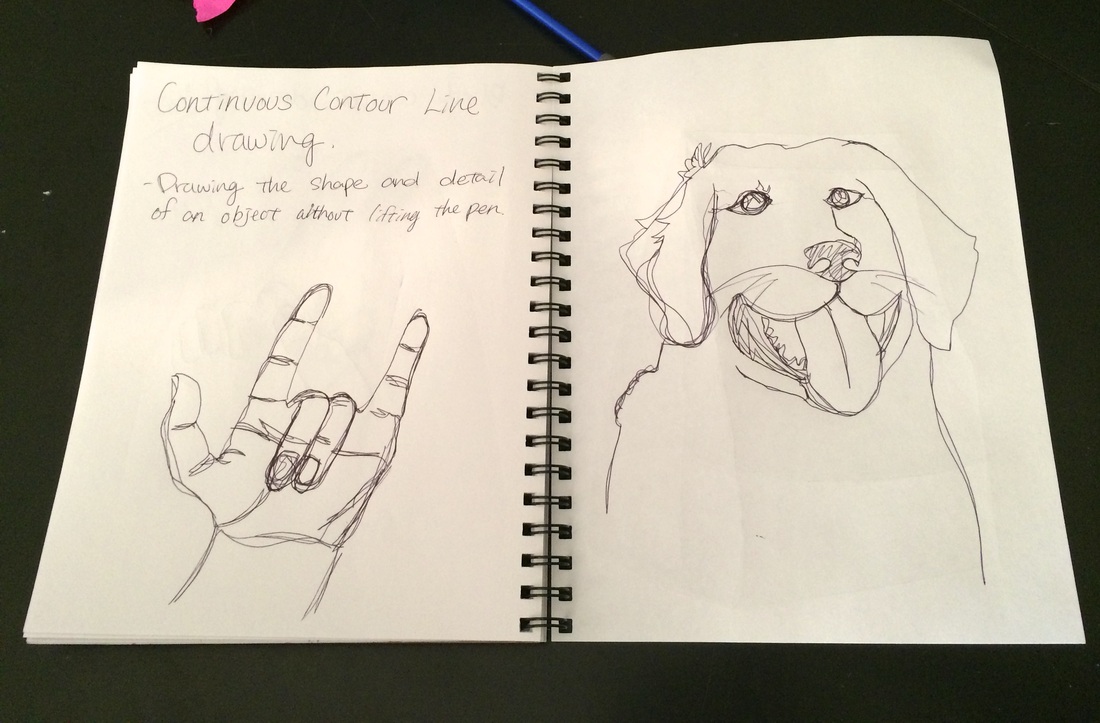
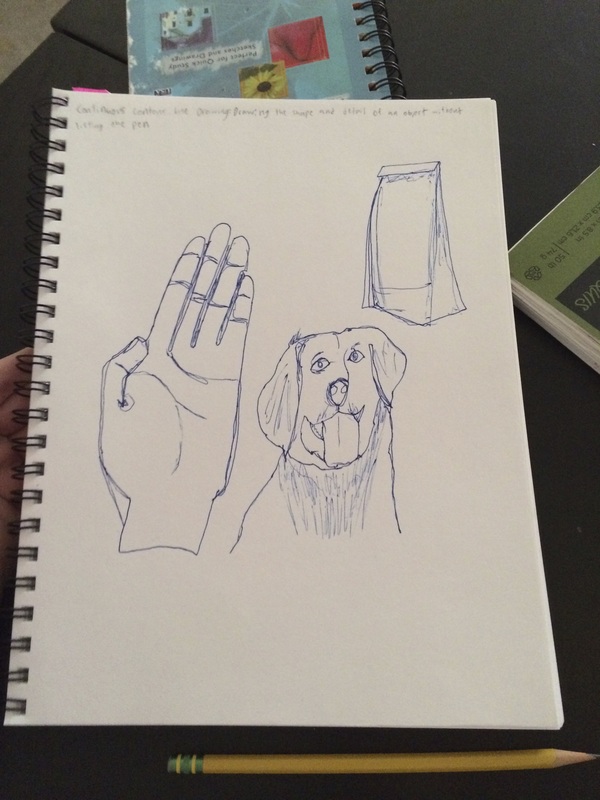
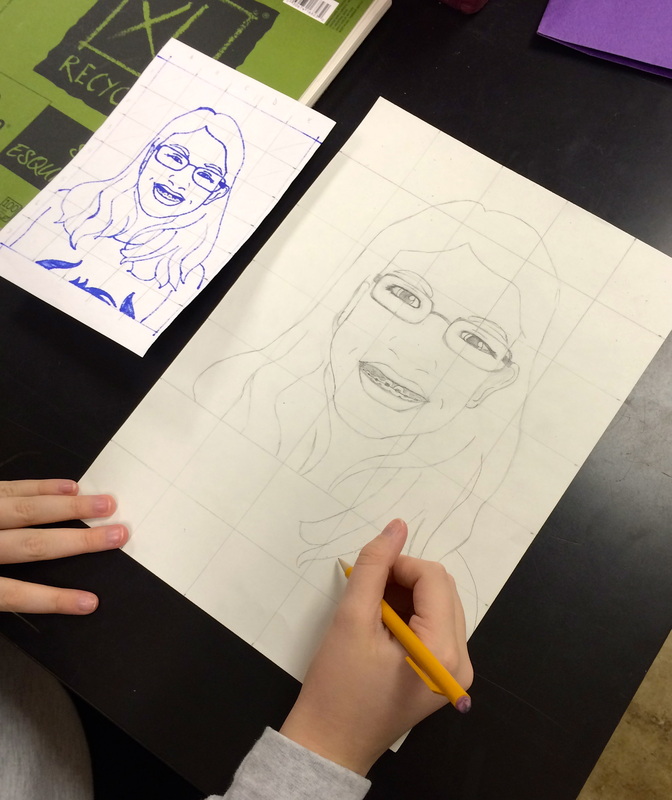
Then, we moved onto continuous contours where they could look at their page to connect lines and make modifications.
Then, we moved onto continuous contours where they could look at their page to connect lines and make modifications.
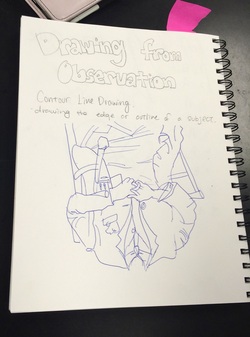
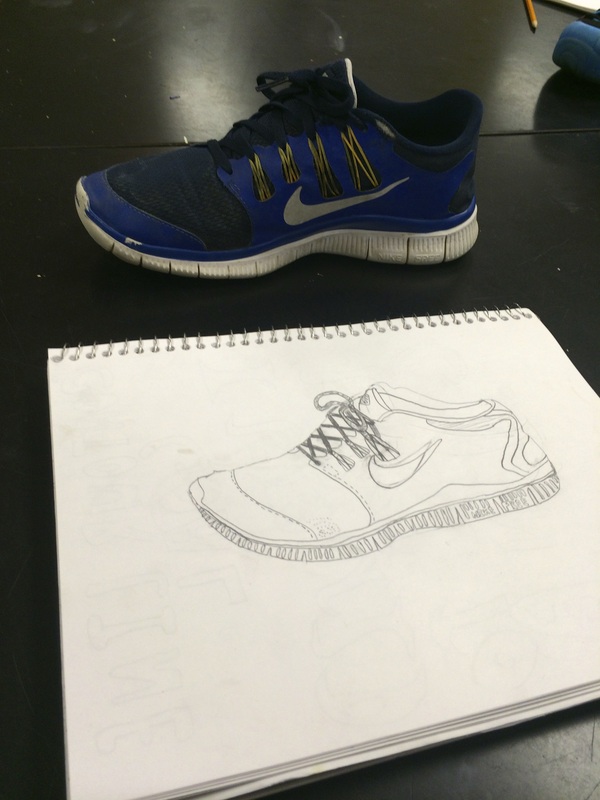
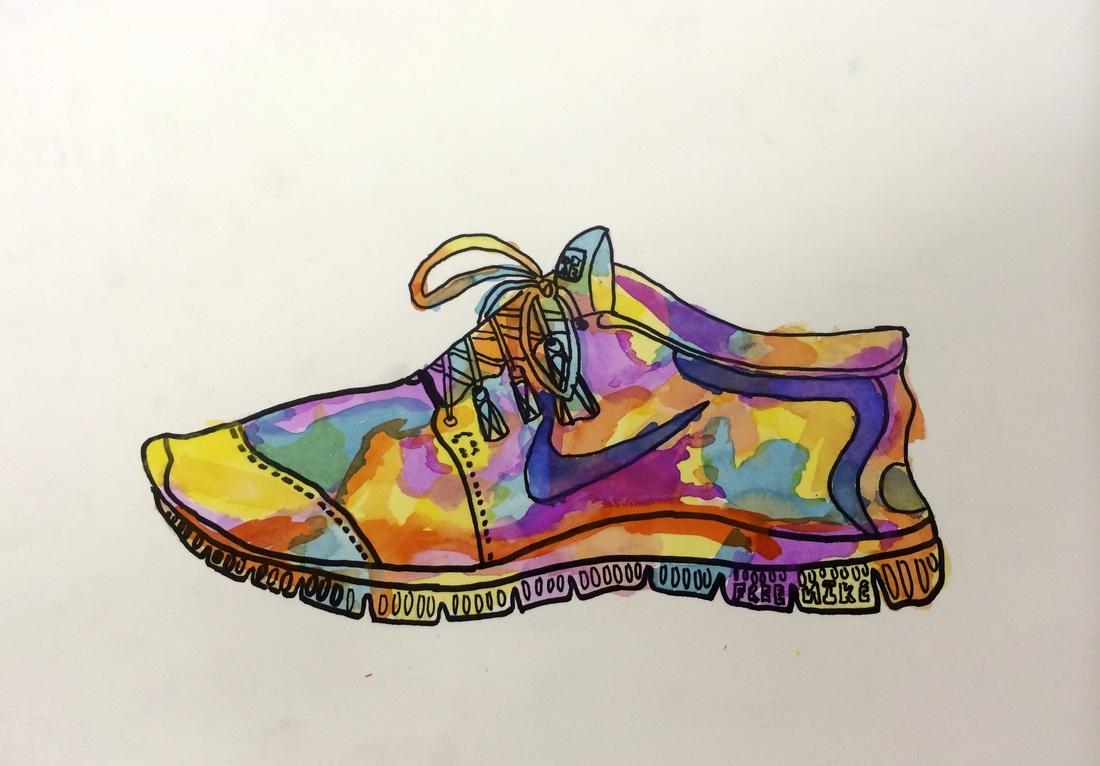
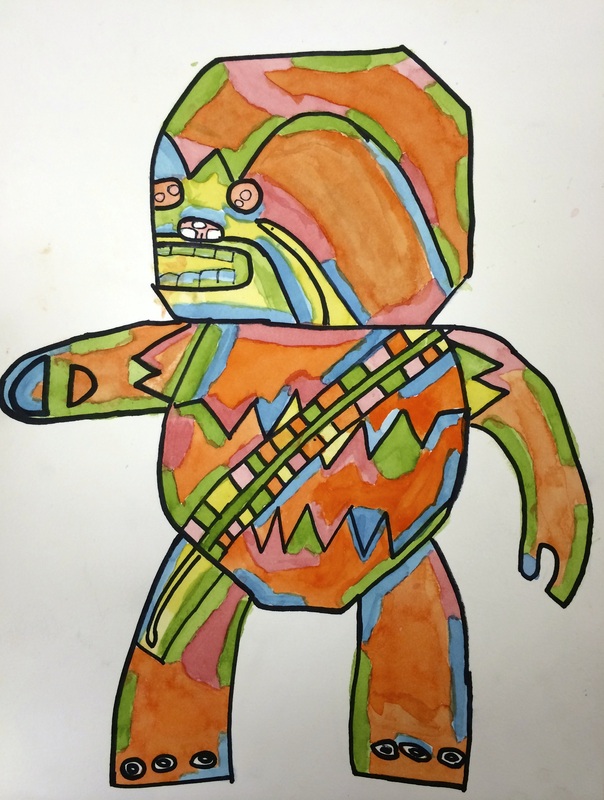
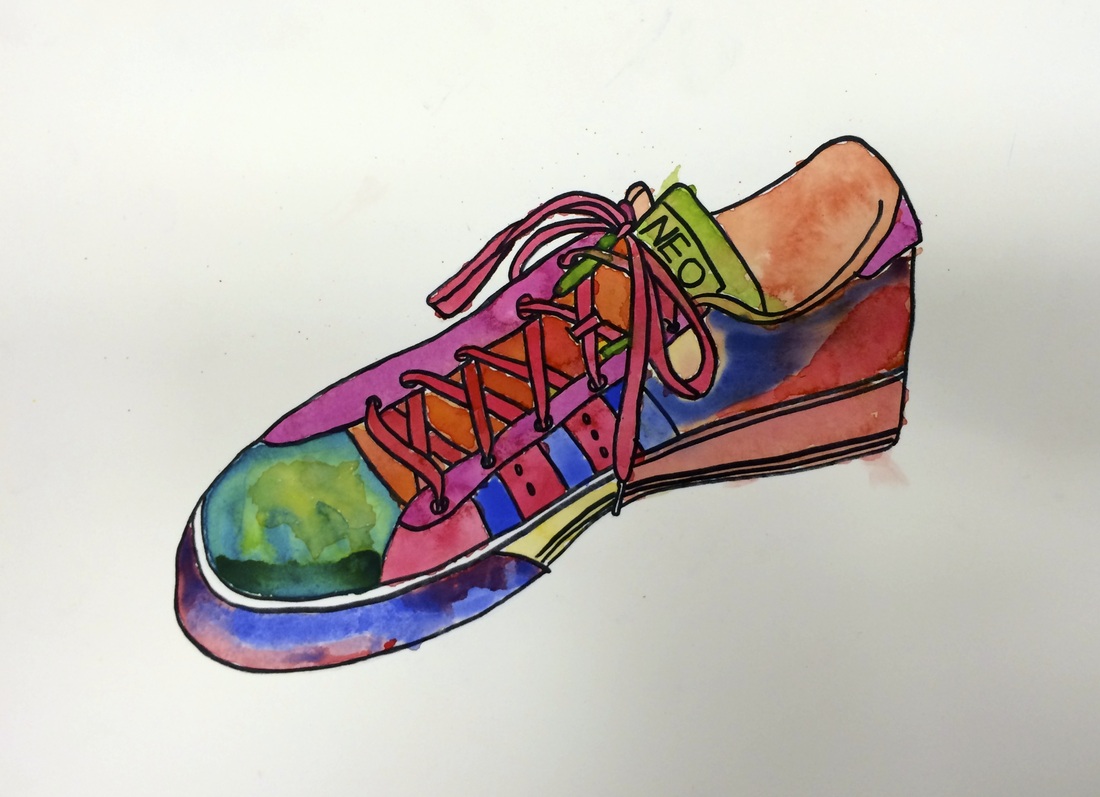
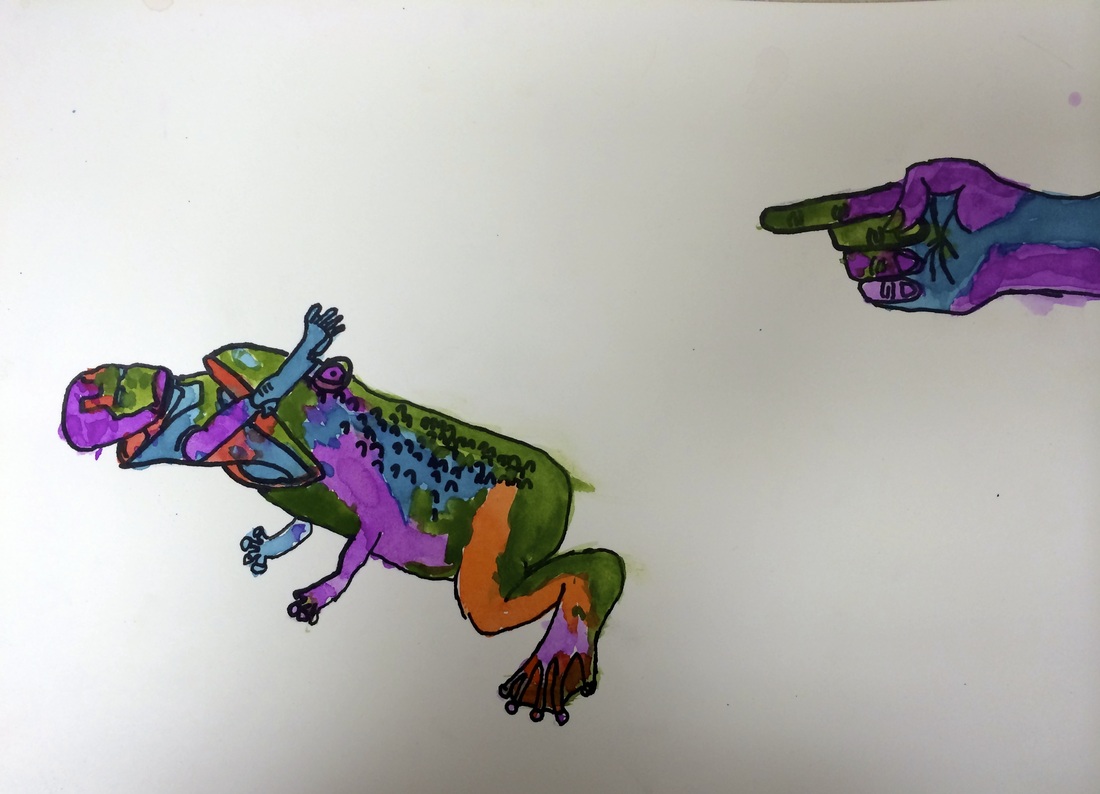
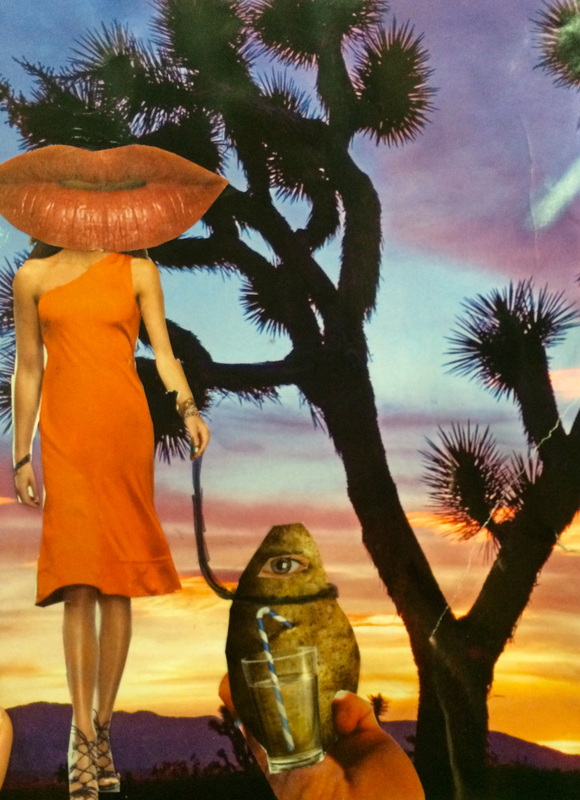
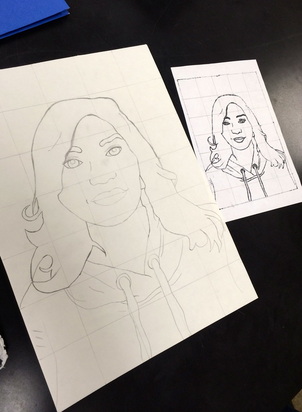
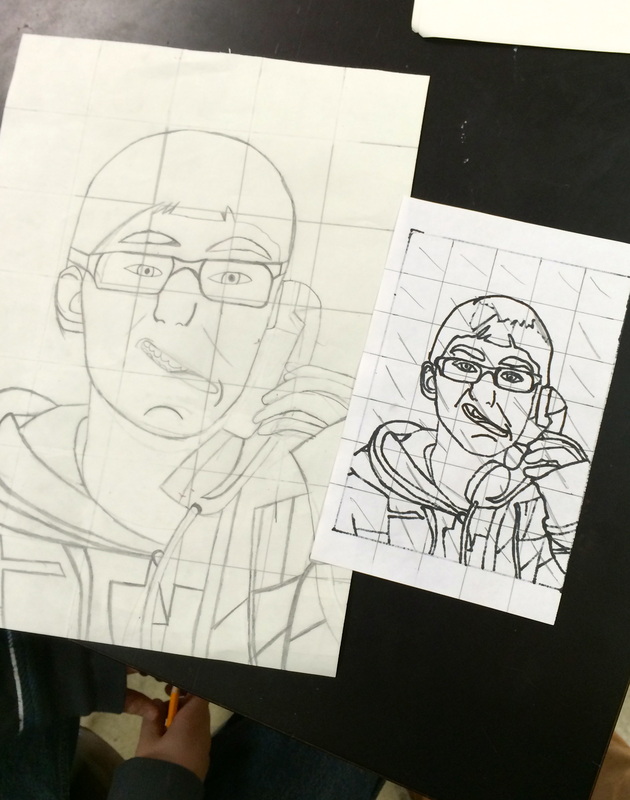
Their drawings improved with each exercise and finally, they were ready to start the sketches for final drawings. The students were to bring in or choose an object that in some way had meaning to them. See a sketch below.
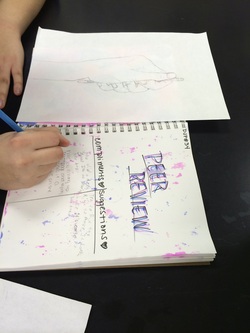
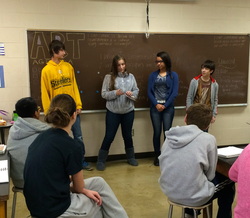
Before they moved onto their final contour line drawings, we had a peer review session. This way, the students were able to receive some suggestions (and compliments!) to see if there was anything they might be able to improve.
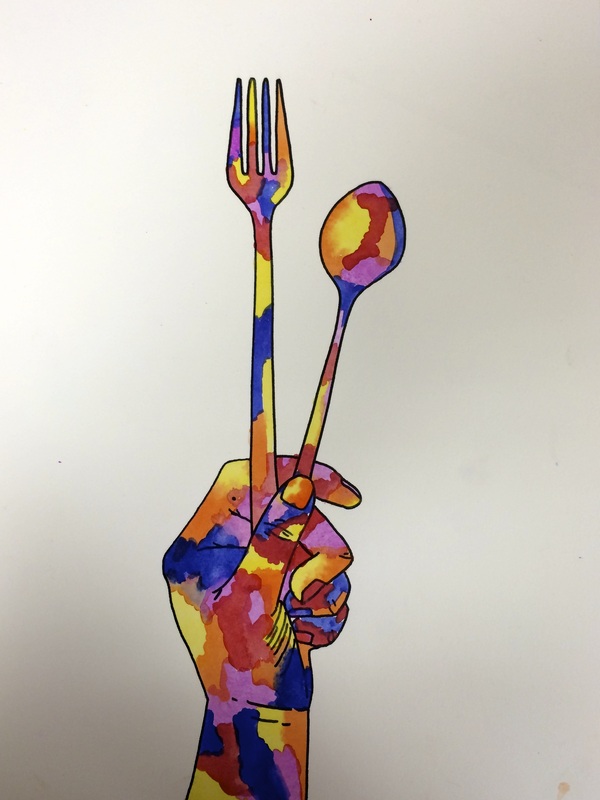
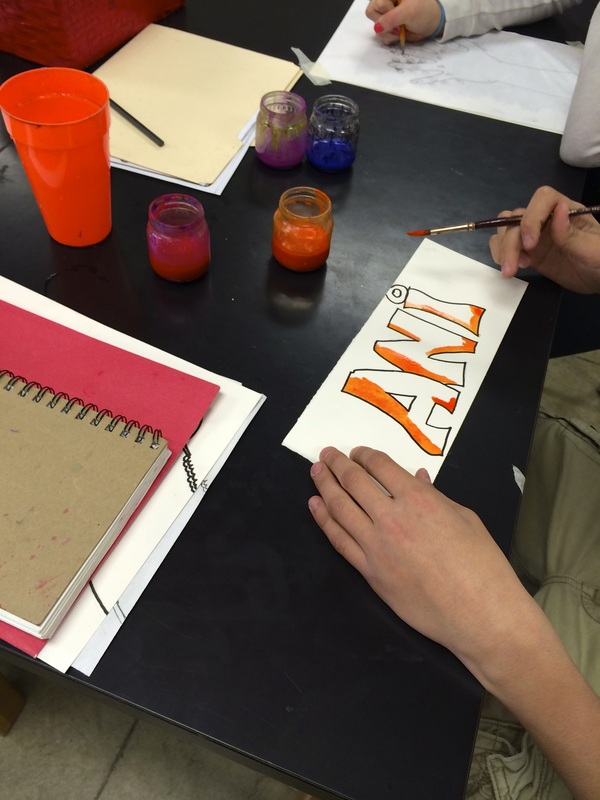
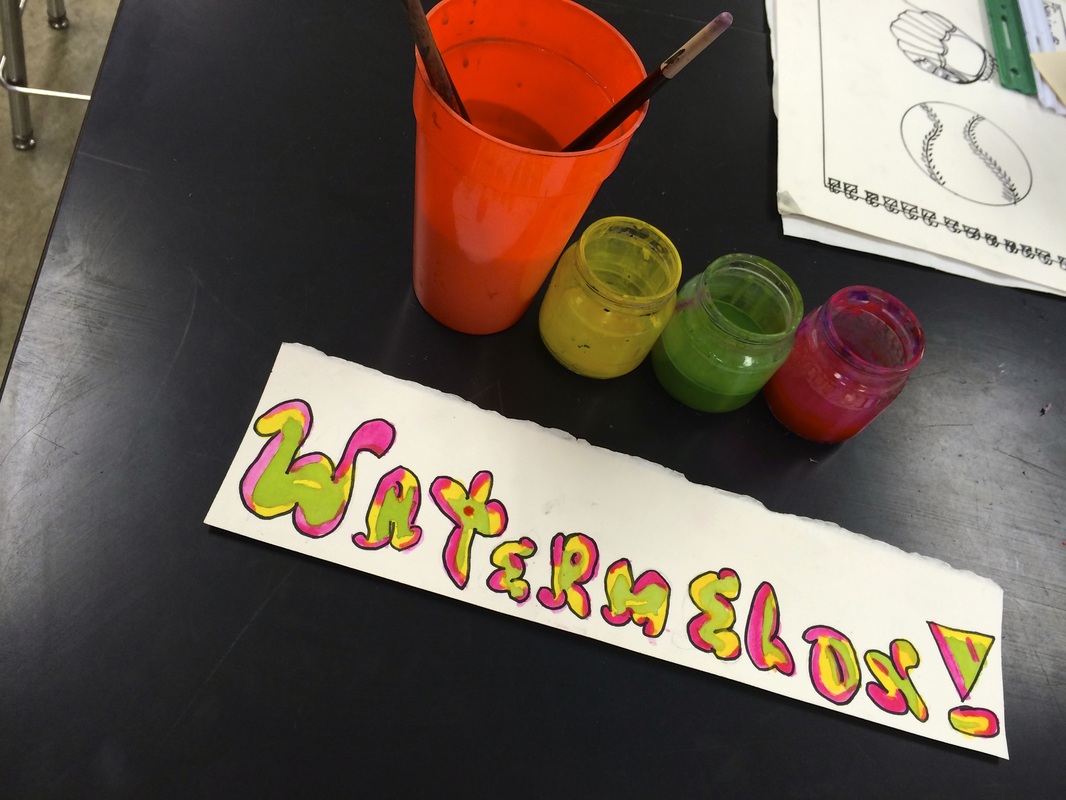
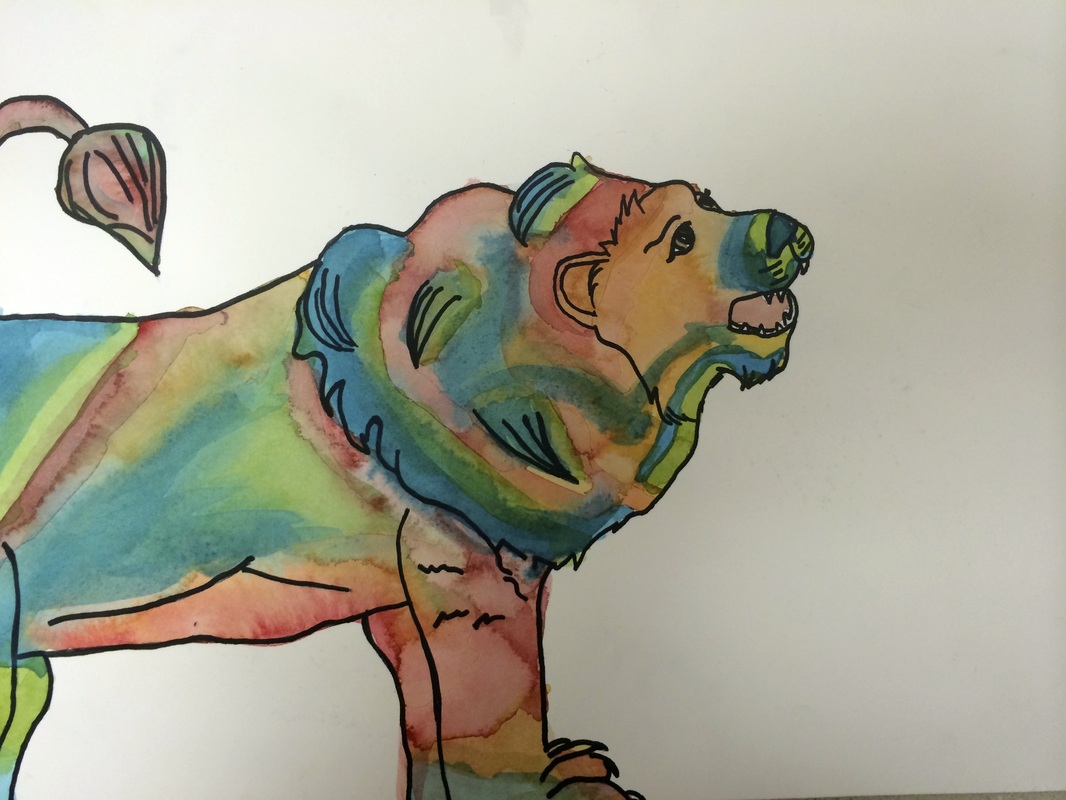
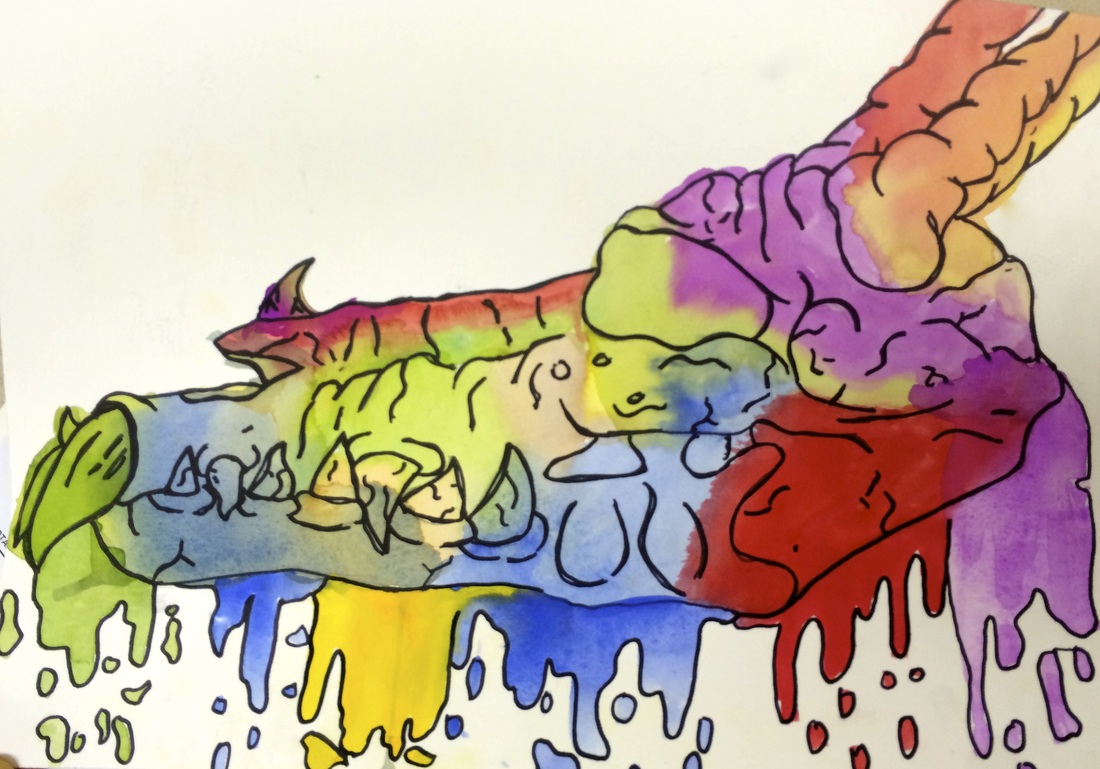
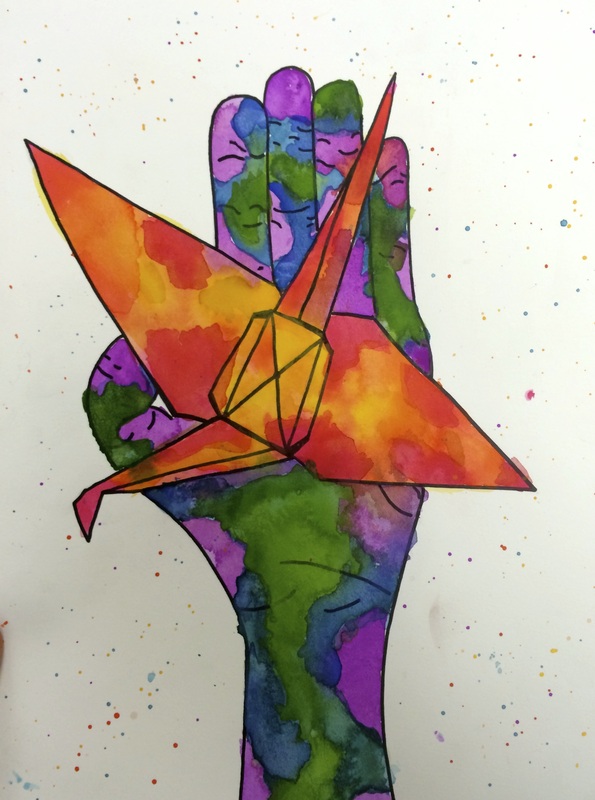
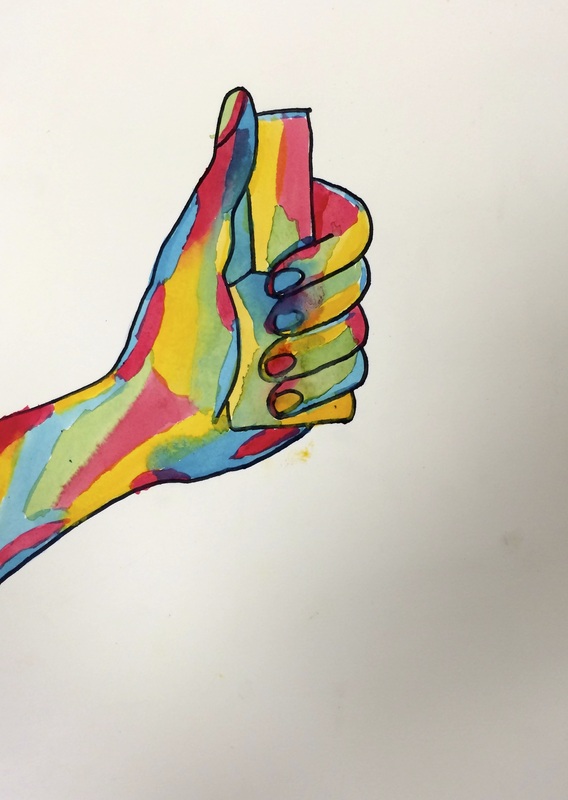
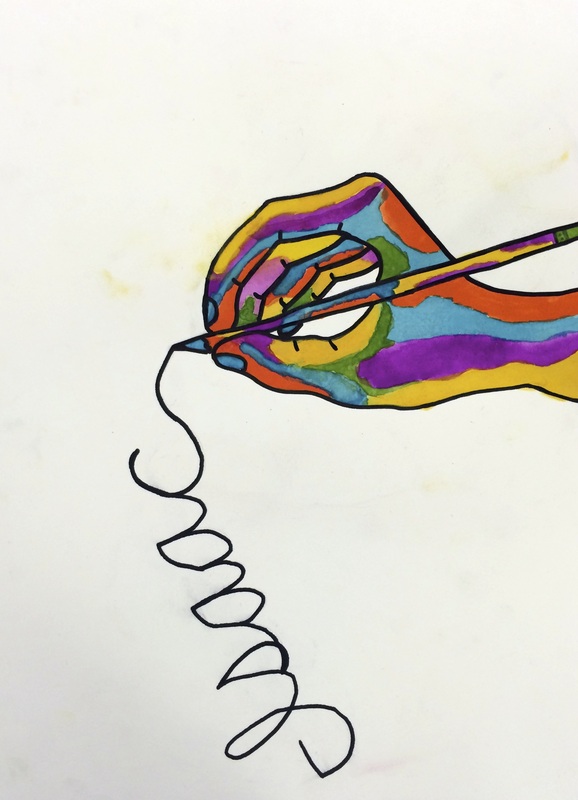
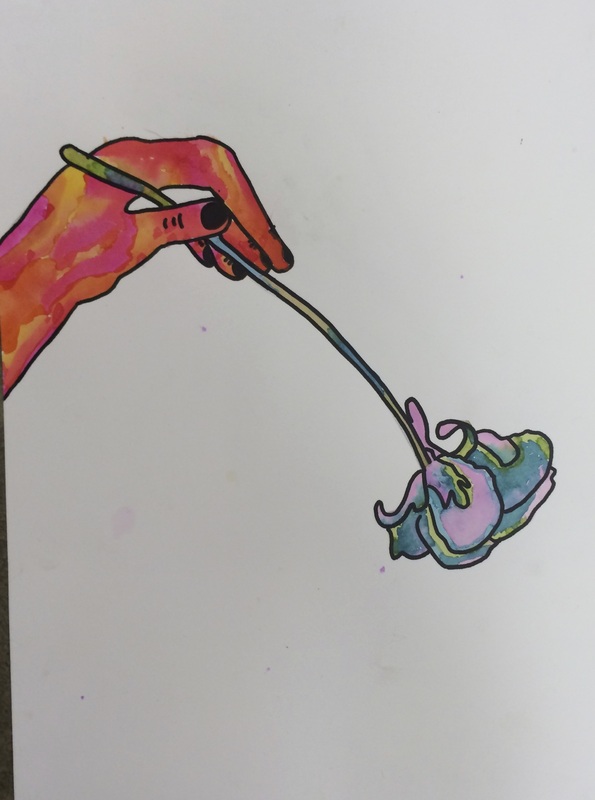
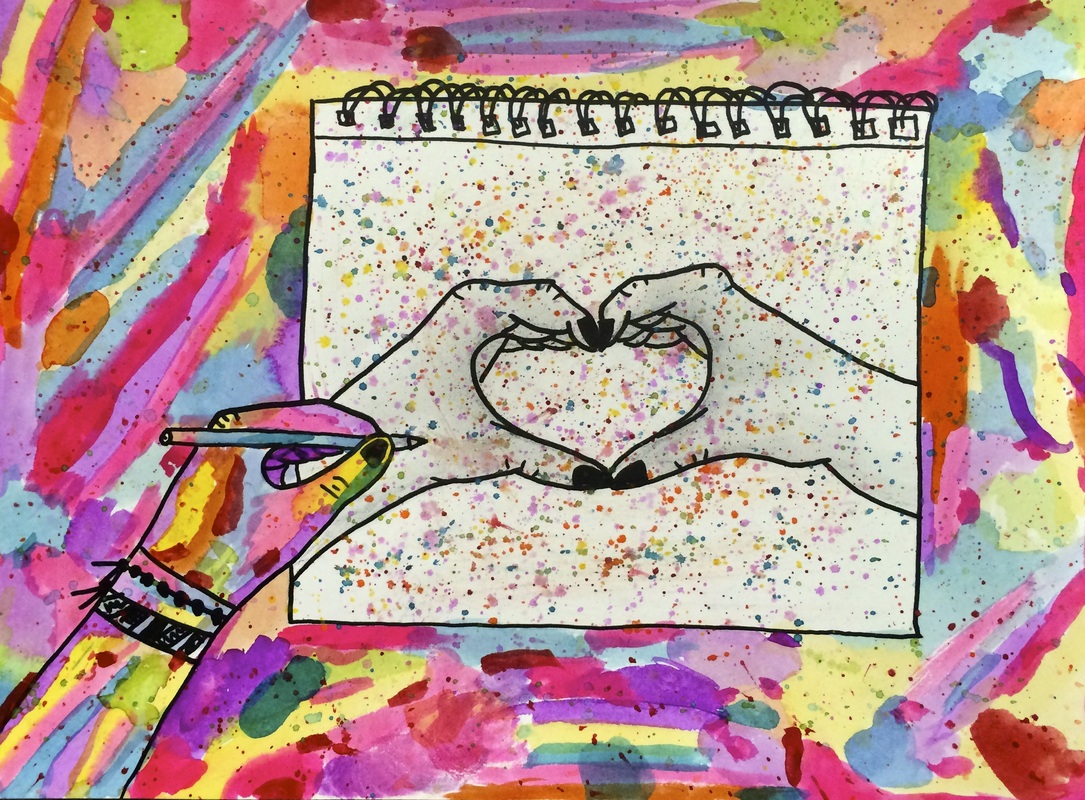
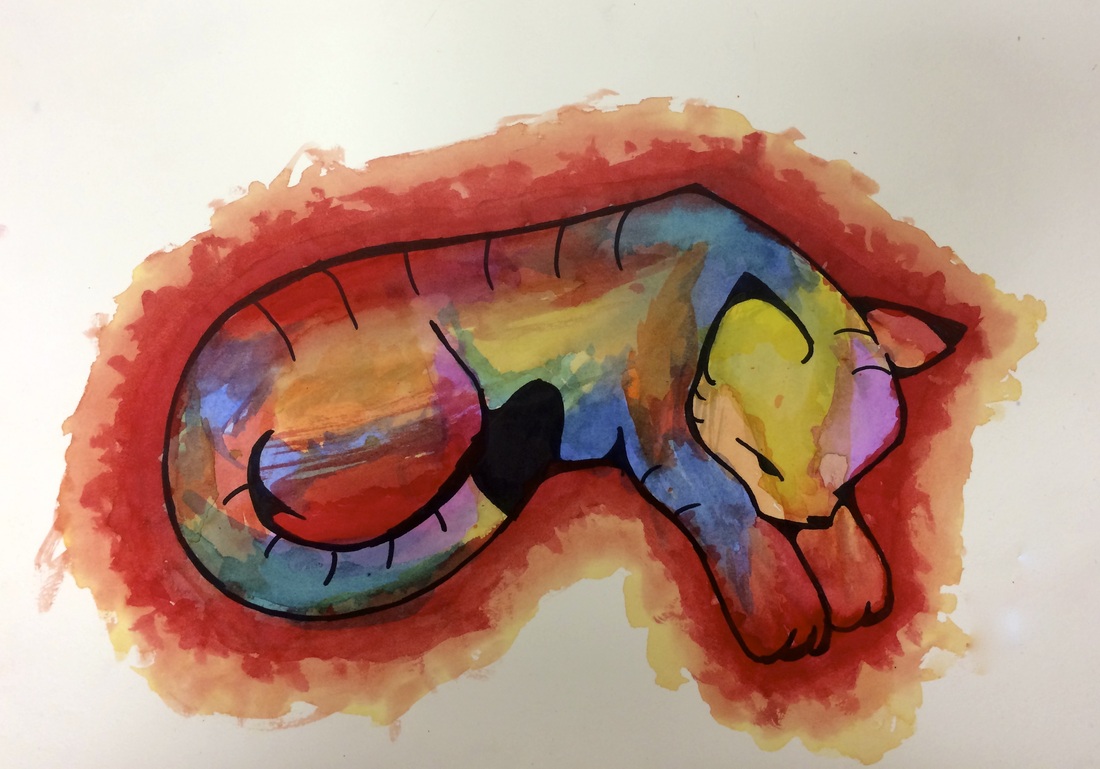
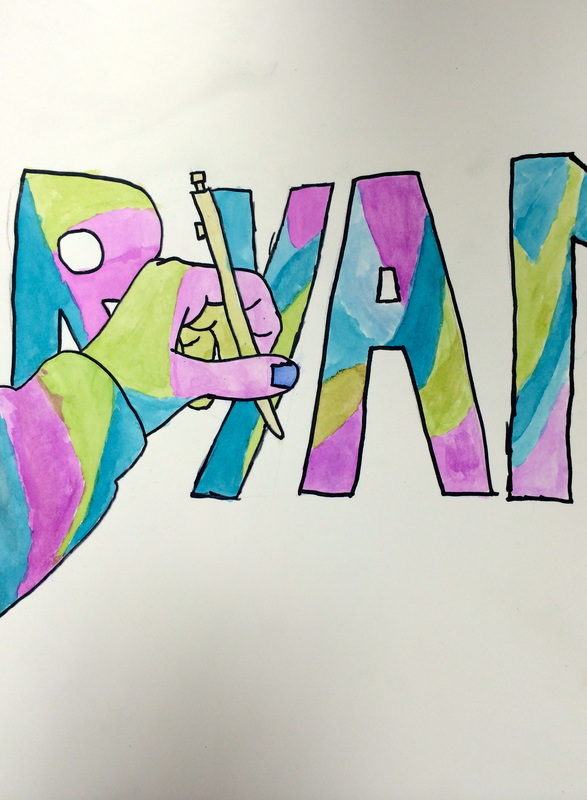
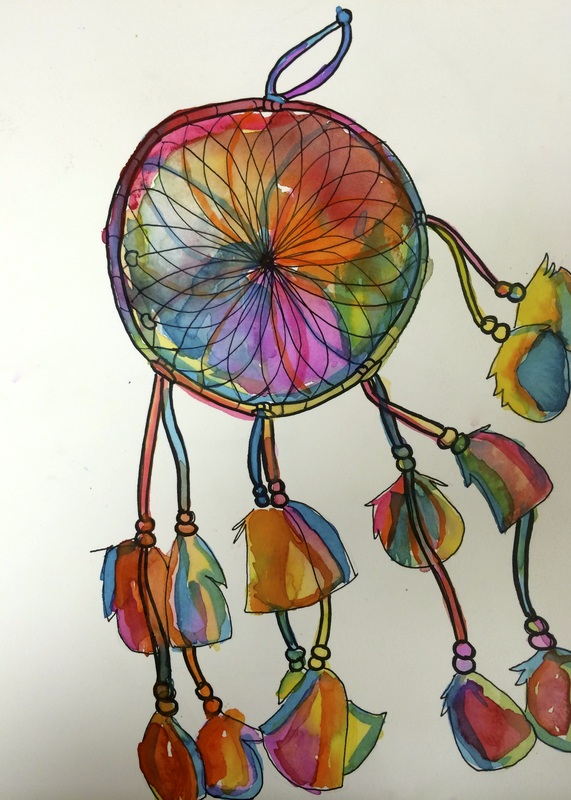
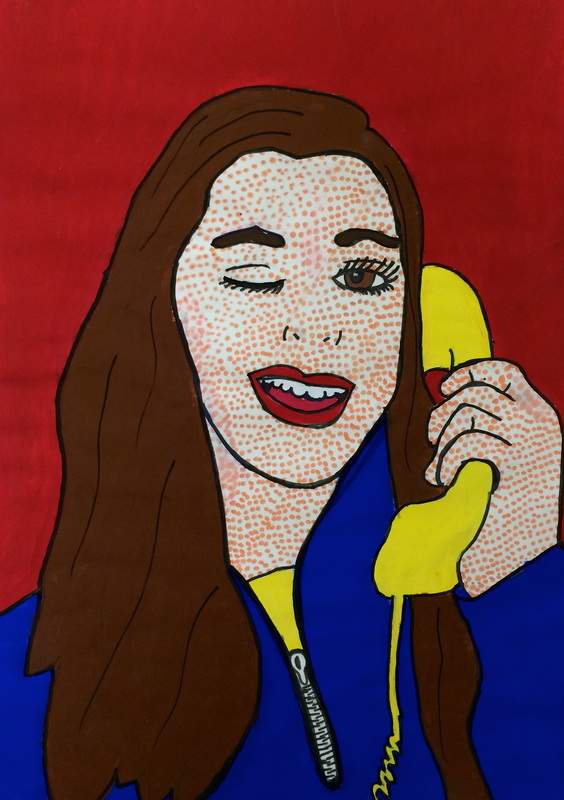
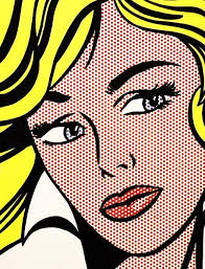
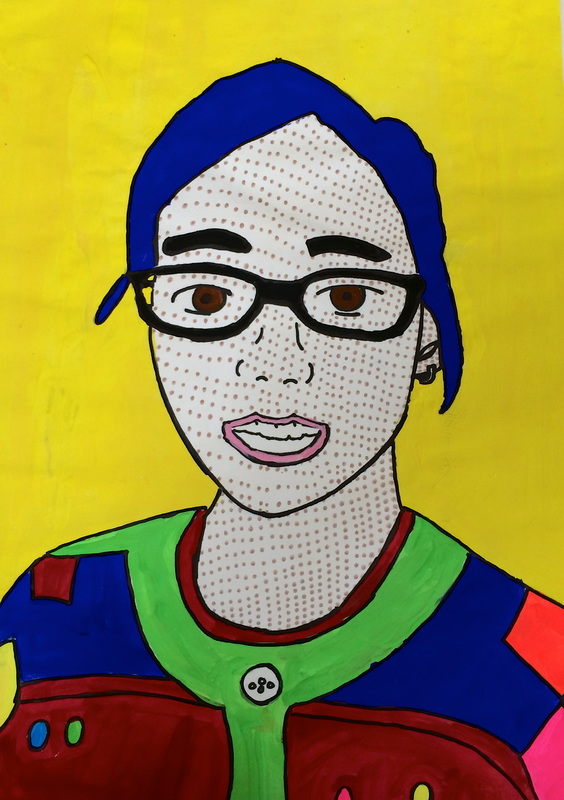
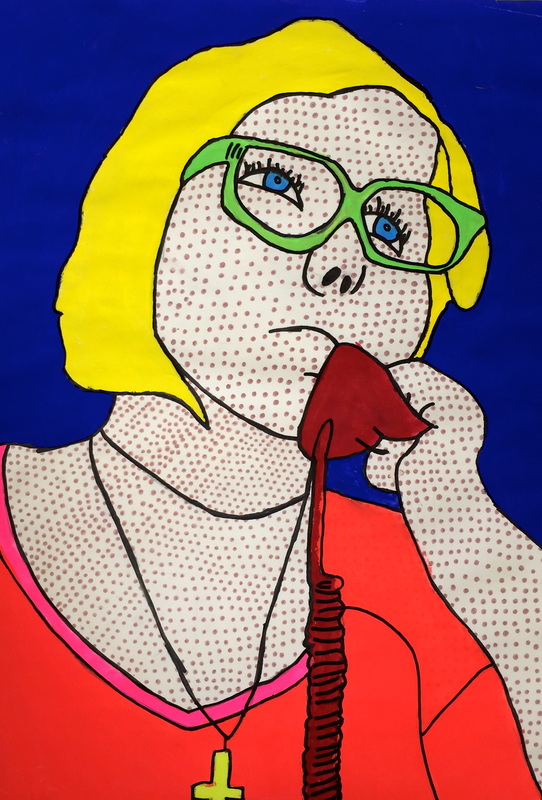
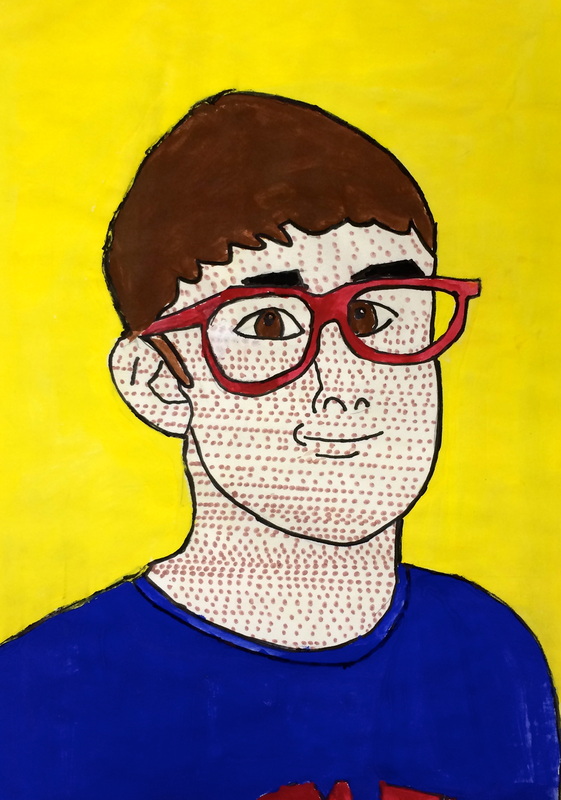
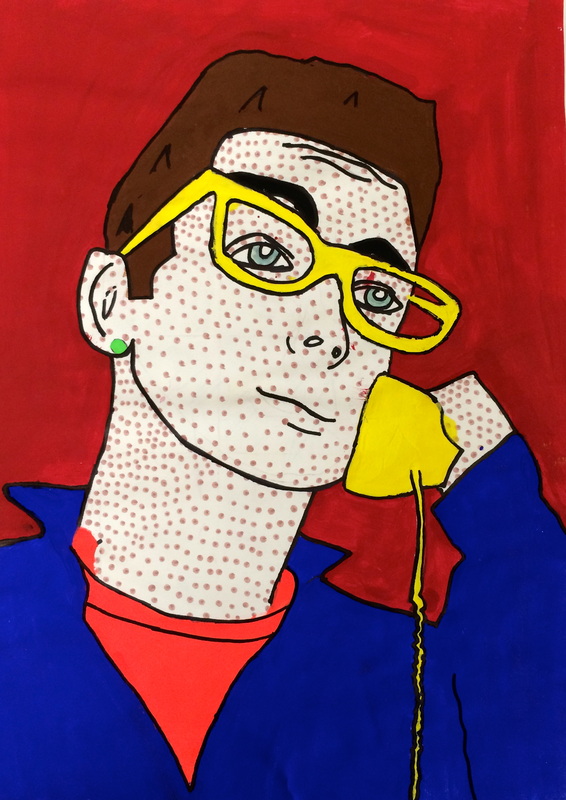
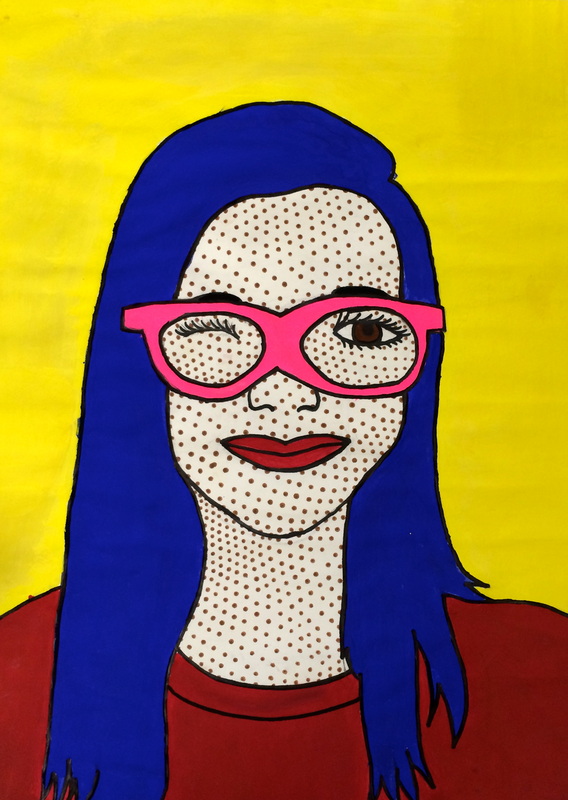
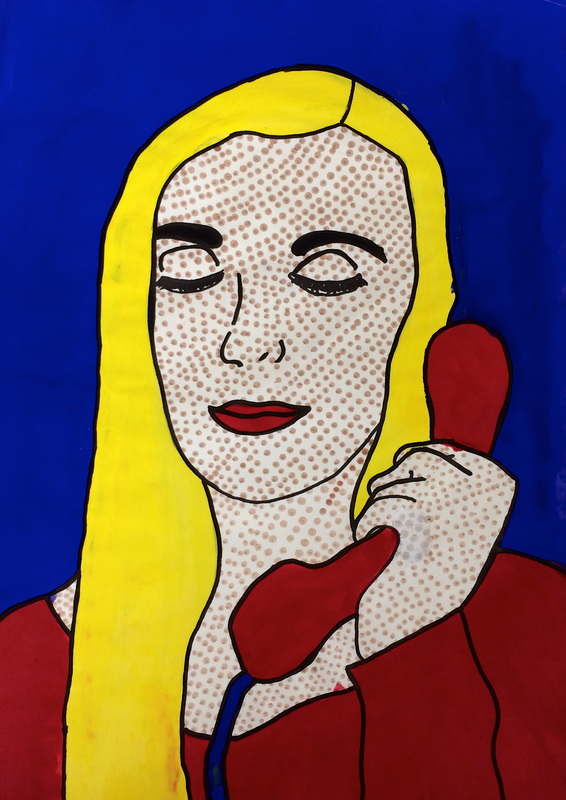
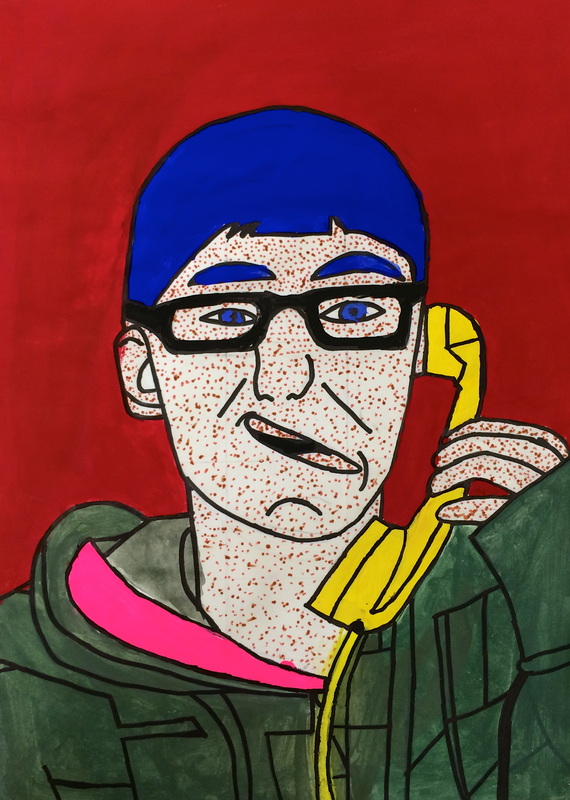
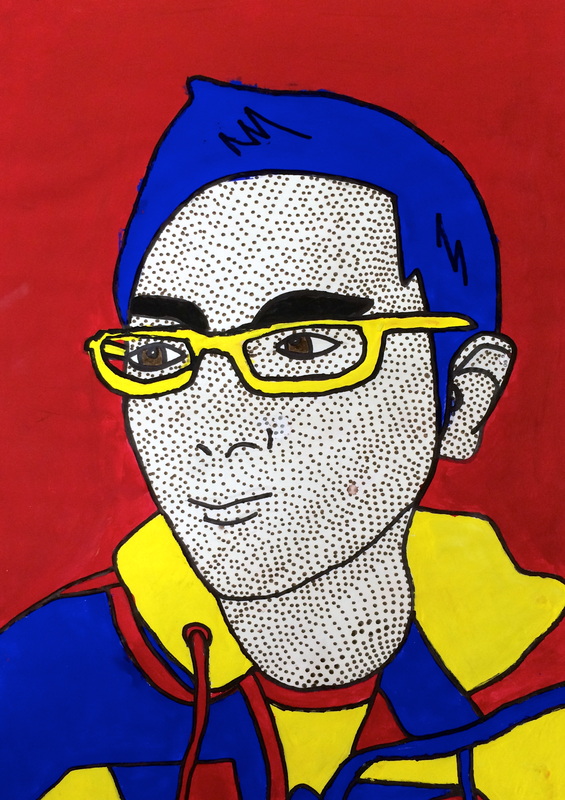
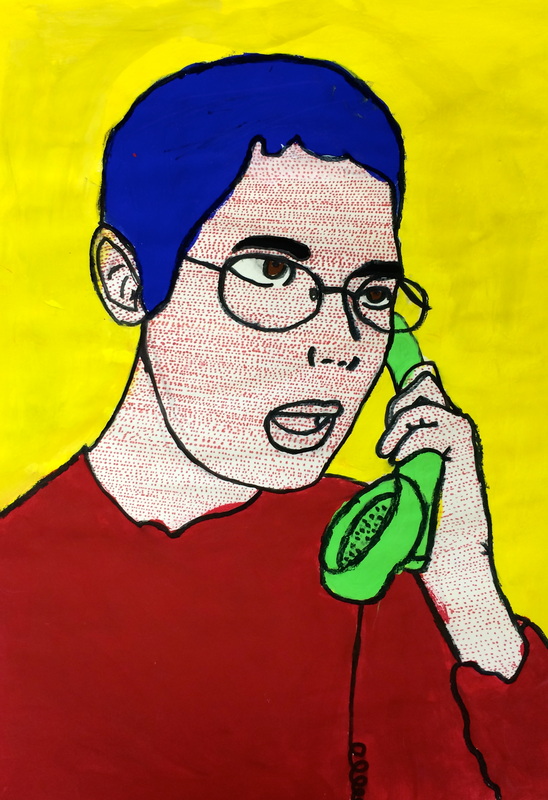
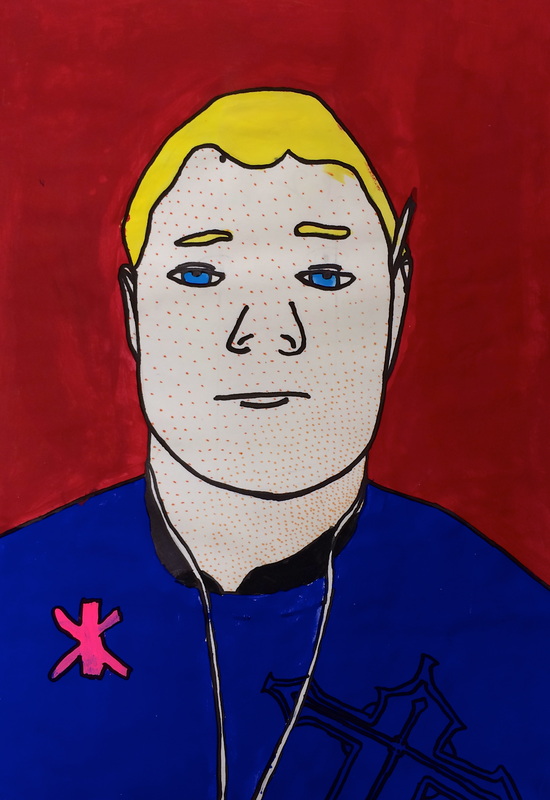
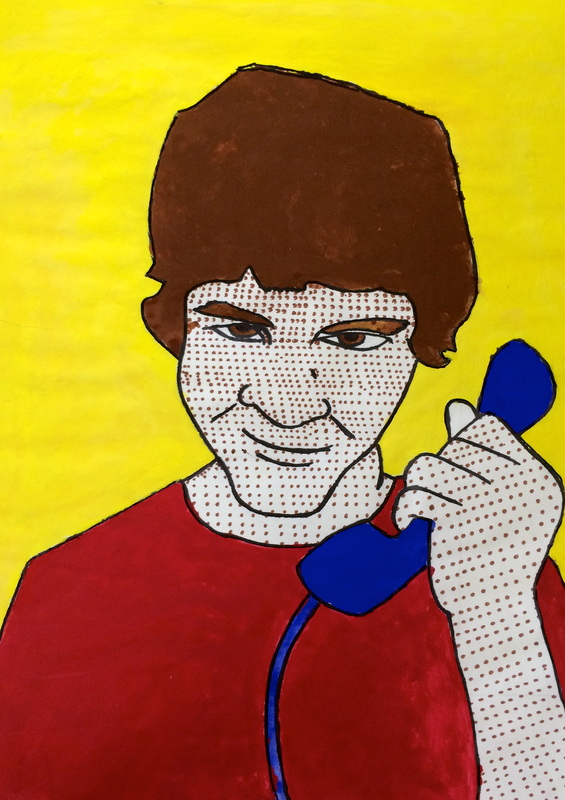
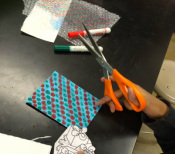
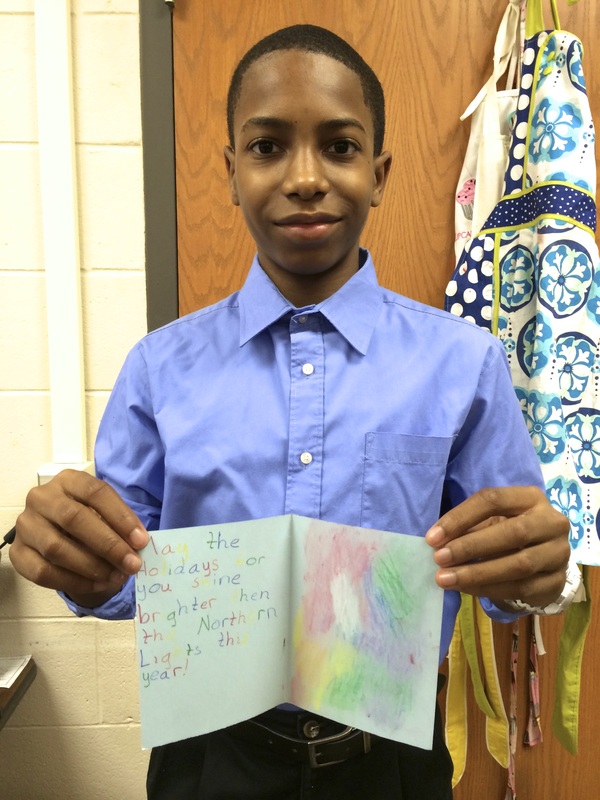
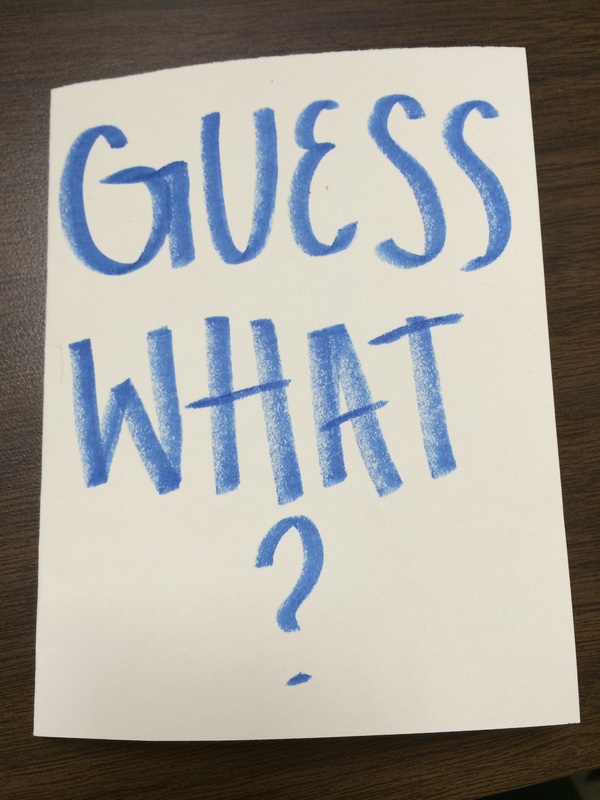
Once they were satisfied with their sketches, they were able to move on to their final drawings. The new improvement to this project was adding color to their contour line drawings. The students used gouache (similar to watercolor) to fill their drawings with an array of vibrant colors. Since many of them did not have a ton of experience with gouache, I had them practice layering and blending the paint in a mini colorful lettering activity.
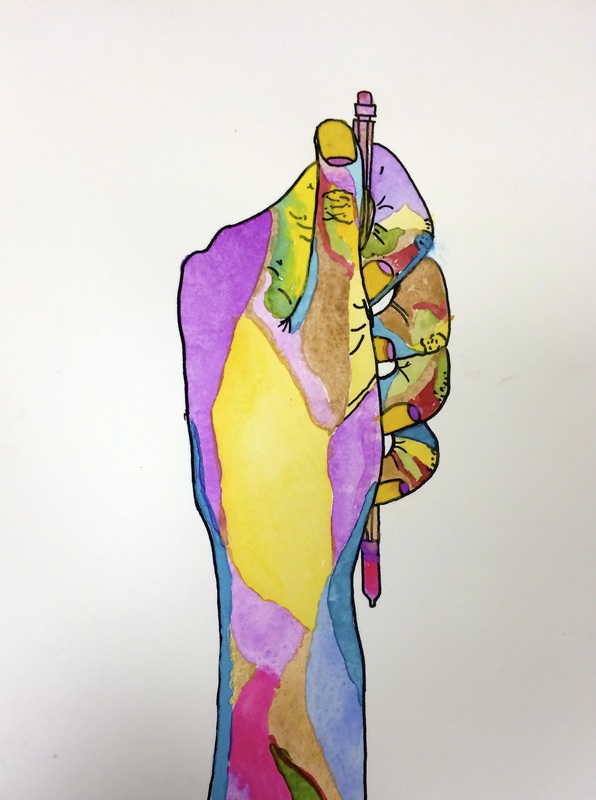
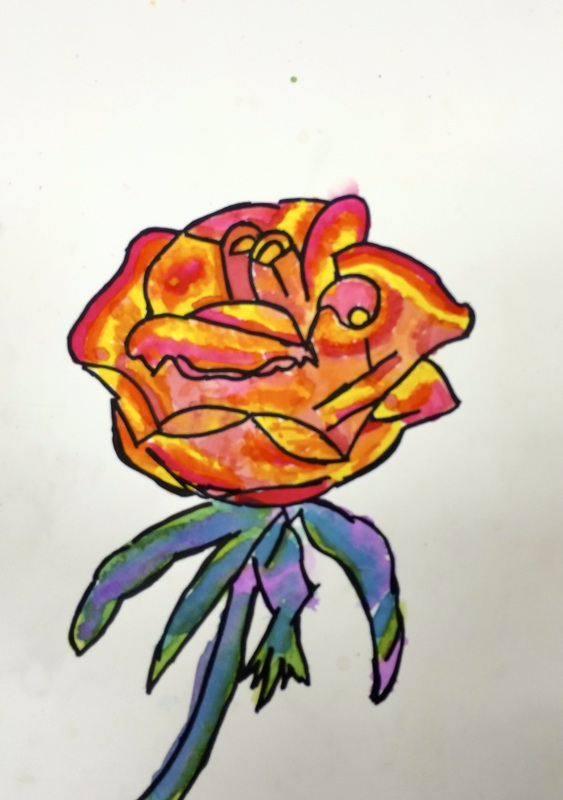
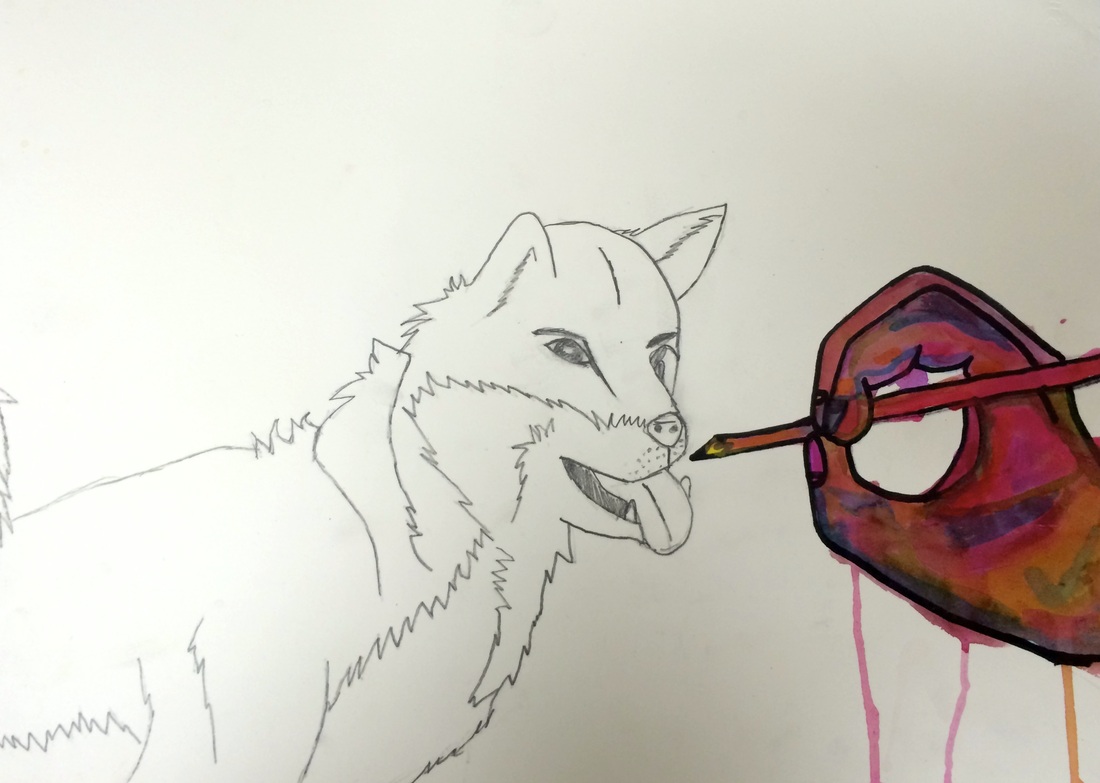
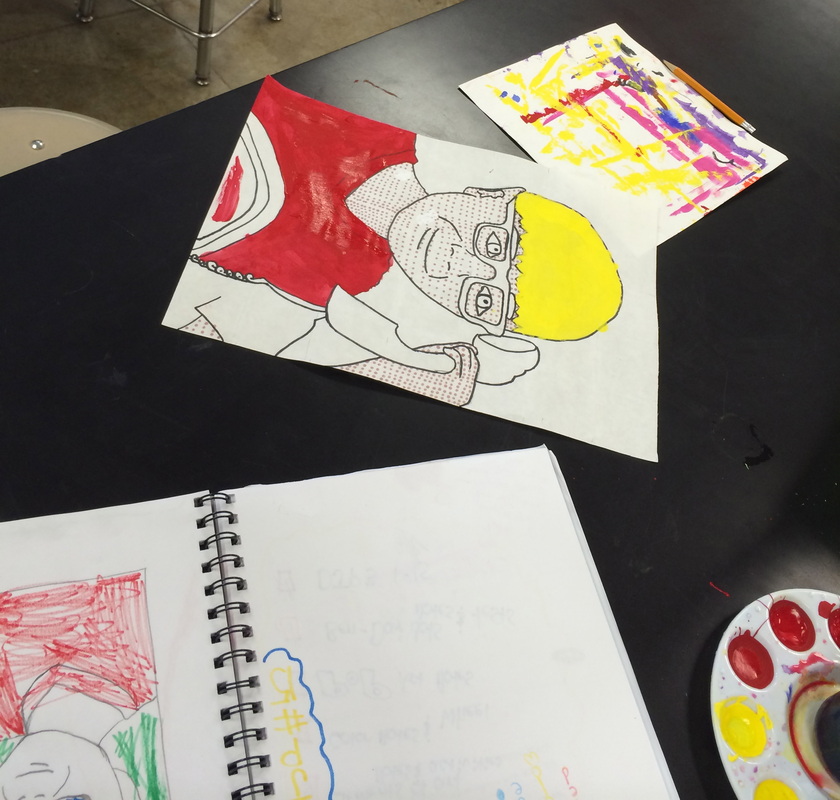
Once they felt comfortable with the gouache, they could start painting their drawings. Below are some pictures of the painting process.
Through this additional painting step, the students learned how to layer and blend paint, while also getting a better understanding of color theory. They had to combine an array of colors successfully while creating contrast without making them muddy or dull.


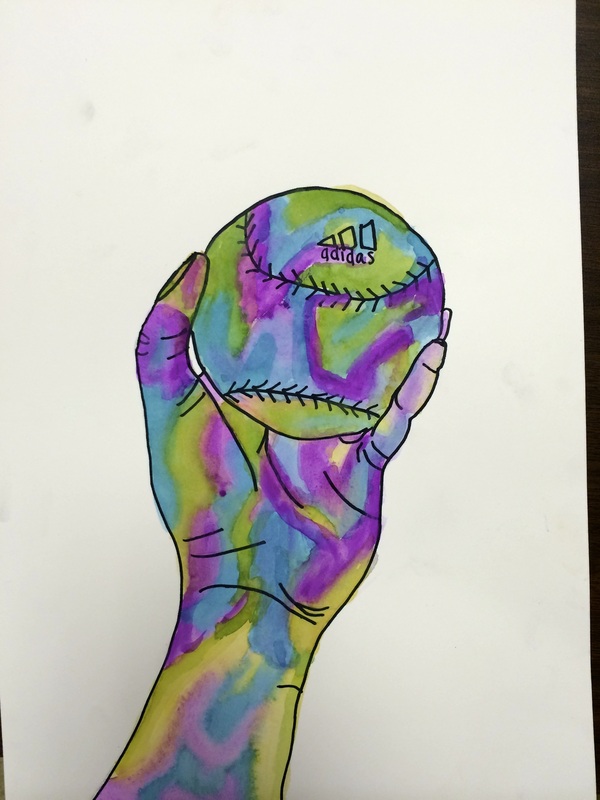
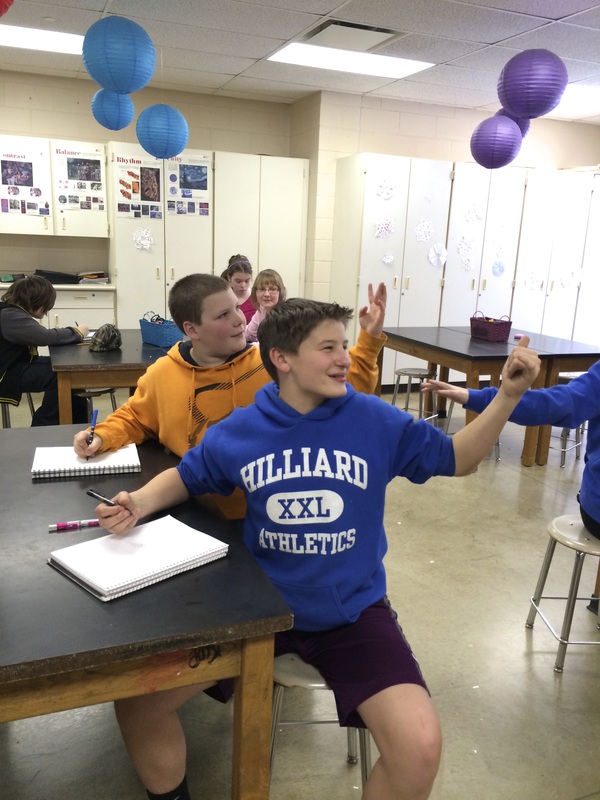
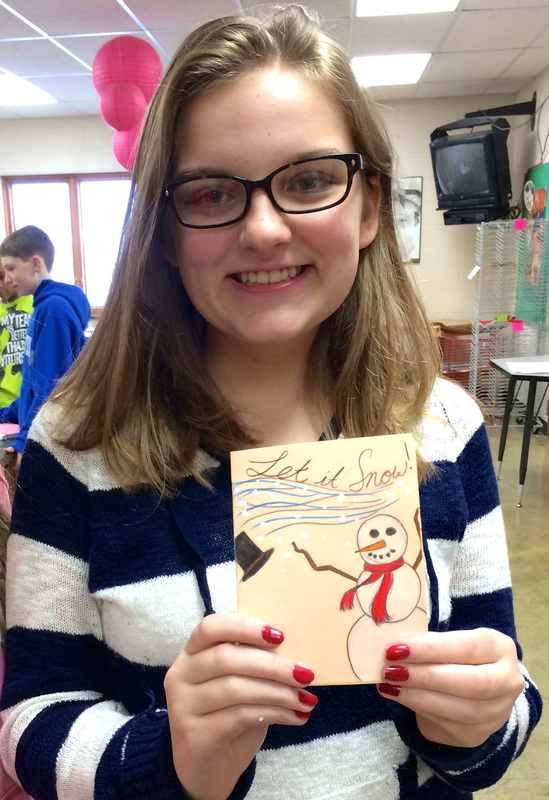
My favorite part of this was asking the students if they were surprised by how accurate their drawings turned out to be and just about every hand went up!


 RSS Feed
